
Interior design is extremely visual by nature, which is why it needs to be met with stunning photography. After all, a great photo is what captures your design in its entirety and gets future clients on board who want to work with you.
While you can definitely partner up with a photographer or a photography studio, my earlier post on blogging tips notes that those just starting out in their careers may have to develop skills outside of interior design to build their brand.
So, without further ado, below are some photography tips all interior designers should know.
Get the right equipment
It’s important to invest in a good camera, as it can make all the difference for interior photography. Basic point-and-shoot or mobile cameras simply won’t cut it here, as you’ll want your colors and lighting to be as true as possible in interior photos.

Fortunately, there are many good cameras out there that are affordable, with the vast array of photography equipment on Adorama showcasing brands like Canon, Nikon, and Sony. The Nikon D750 is your best bet for taking high-quality photos with accurate colours, while the camera’s Wi-Fi capabilities mean that you can upload interior photography directly from your camera and send it to clients.
If you have enough capital and really want to spend on other equipment, a good tripod should be enough to help you steady your interior photography shots.

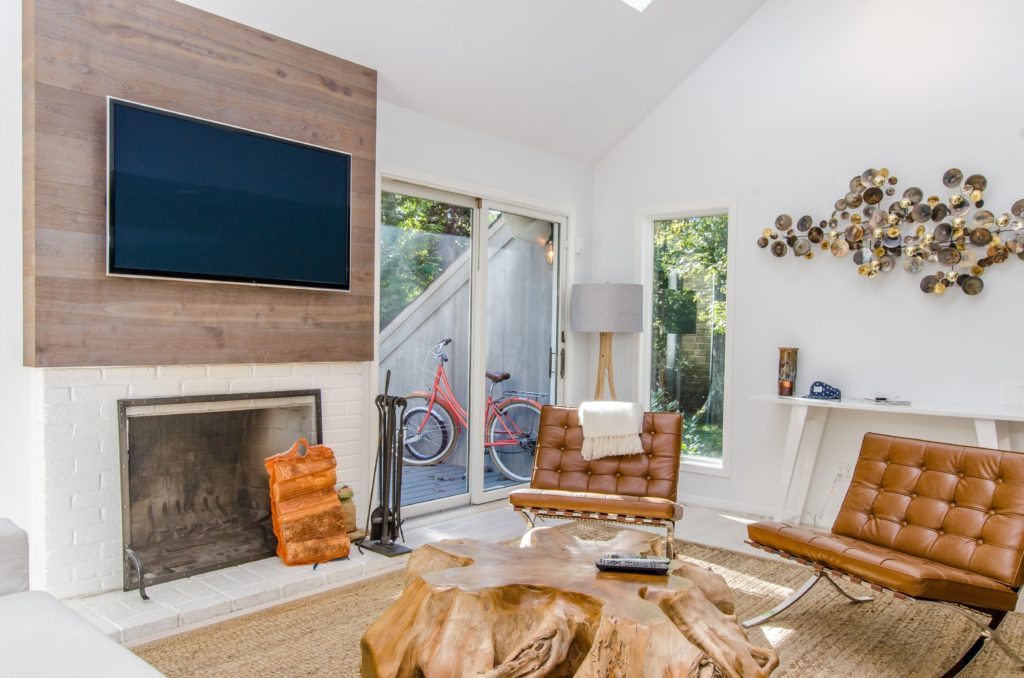
Shoot with natural lighting
Natural lighting is your best bet when shooting for interior photography. While lifestyle writer Austin Gould notes that it can be tricky to plan a shoot to get the best natural light, finding the right time to shoot means that you don’t have to lug around lots of equipment.
You’ll want to strike a balance when it comes to working with natural light as well, as too much of it can make your interior photography overexposed and take away some depth to your shot.
To help bypass this, make sure the window (or source of light) is off to the side to avoid too much natural light coming in. You can also use curtains and drapes to help block off the light for interior photos.

Don’t forget to add stylistic touches
You’ve spent lots of hard work arranging the interiors of a place, so don’t let things like loose cords and clutter ruin your shot! Before you shoot interior photography, make sure to go over the space and clean it up so that everything is spick and span. You might also want to add a few decorative touches like fluffing up pillows on the sofa or arranging a tableware set in the dining room.
Styling your interior photos is a fun process! You might have to go back and forth between shooting and styling to figure out what works best on camera, but the results will be worth it.

Brush up on your editing skills
Lastly, every interior photographer should know a thing or two about photo editing. Lots of people are intimidated by it, but today’s applications make this process much more user-friendly. Snapseed is a great free mobile application that works for both Android and iOS, and is useful for making quick touches.
Going back to the discussion on equipment, relying on a great camera means that you won’t have to do too much tweaking in the post-editing process.

Once you’ve built up your interior photography skills, you can easily take stunning shots wherever you are. Brushing up on your skills also helps you direct future photographers you end up partnering with.

Need help growing your interior design business?
Join our community to network with other designers, get ideas, and learn how to get more customers.